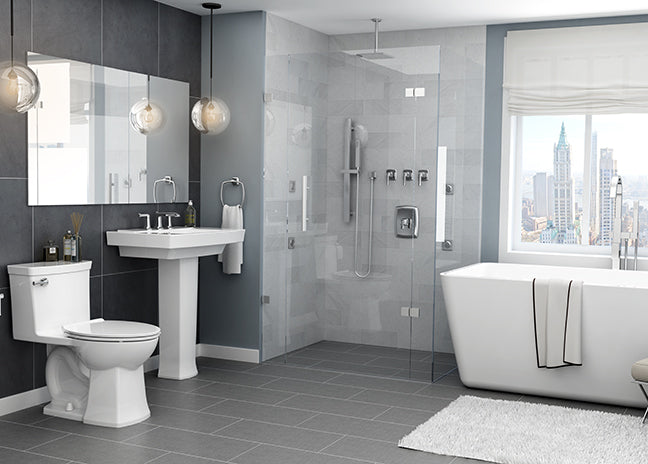
Home Services
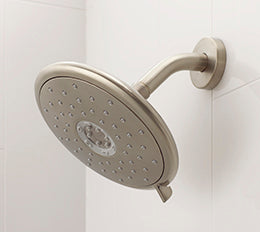
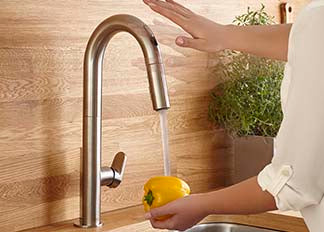
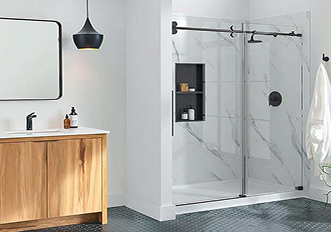
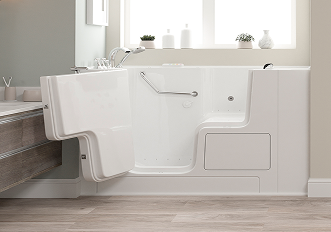
Our team can help you design and install a beautiful and practical new shower, bathtub or walk-in tub that fits your routine.
Send us your information so we can get started right away, or give us a call at 800-215-5130 for faster service.
We use your zip code to match you with our local certified and licensed experts.
By clicking Get Started below, I consent to be contacted by American Standard and any party on its behalf at any time via emails, telemarketing calls using an autodialer, artificial voices or pre-recordings, AI generated calls or texts, and SMS text messages which could result in wireless charges, at the number(s) provided. I understand that my consent is not required to purchase products or services, and I understand that I may revoke my consent at any time by calling American Standard at 800-215-5130. I also agree to the Terms of Use and Privacy Policy, which are also linked at the bottom of this page.
You are being redirected to our strategic partner American Standard Bathing.
© 2026 American Standard, Inc. All rights reserved.